Main Menu
Posted by Vayyar
April 13, 2020Findings Animals in Walls with Walabot DIY

Can a gadget find animals in walls? There I was, minding my own business, watching a YouTube video on some subject that has nothing to do with wildlife control, and an ad starts to play. I immediately moved my mouse to the area of the timer and patiently waited for the five seconds to go by so I could click the button to skip the ad.
This time was different though.
This ad showed some miracle device that could see through walls. It found the studs. It found the pipes. It found the wires. A rare occasion for me – I let the advertisement play. This was kind of cool, I thought.
It would be even better if I could use if for finding animals in walls. Just then the video showed a mouse being detected inside the wall. It was like they read my mind!
Checking Out Walabot DIY’s Site
Still skeptical, I clicked on the link forgoing the video that I originally wanted to see and heading straight to their website.
The website didn’t have much more information than I had already seen, but I didn’t hesitate to order a unit. It was less than a hundred dollars and it was worth a shot. If it could detect a live mouse, could it detect a dead one in a wall? Could it find a bird, a squirrel, a baby raccoon, or other animals in walls? I had to know.
What Is the Walabot DIY?
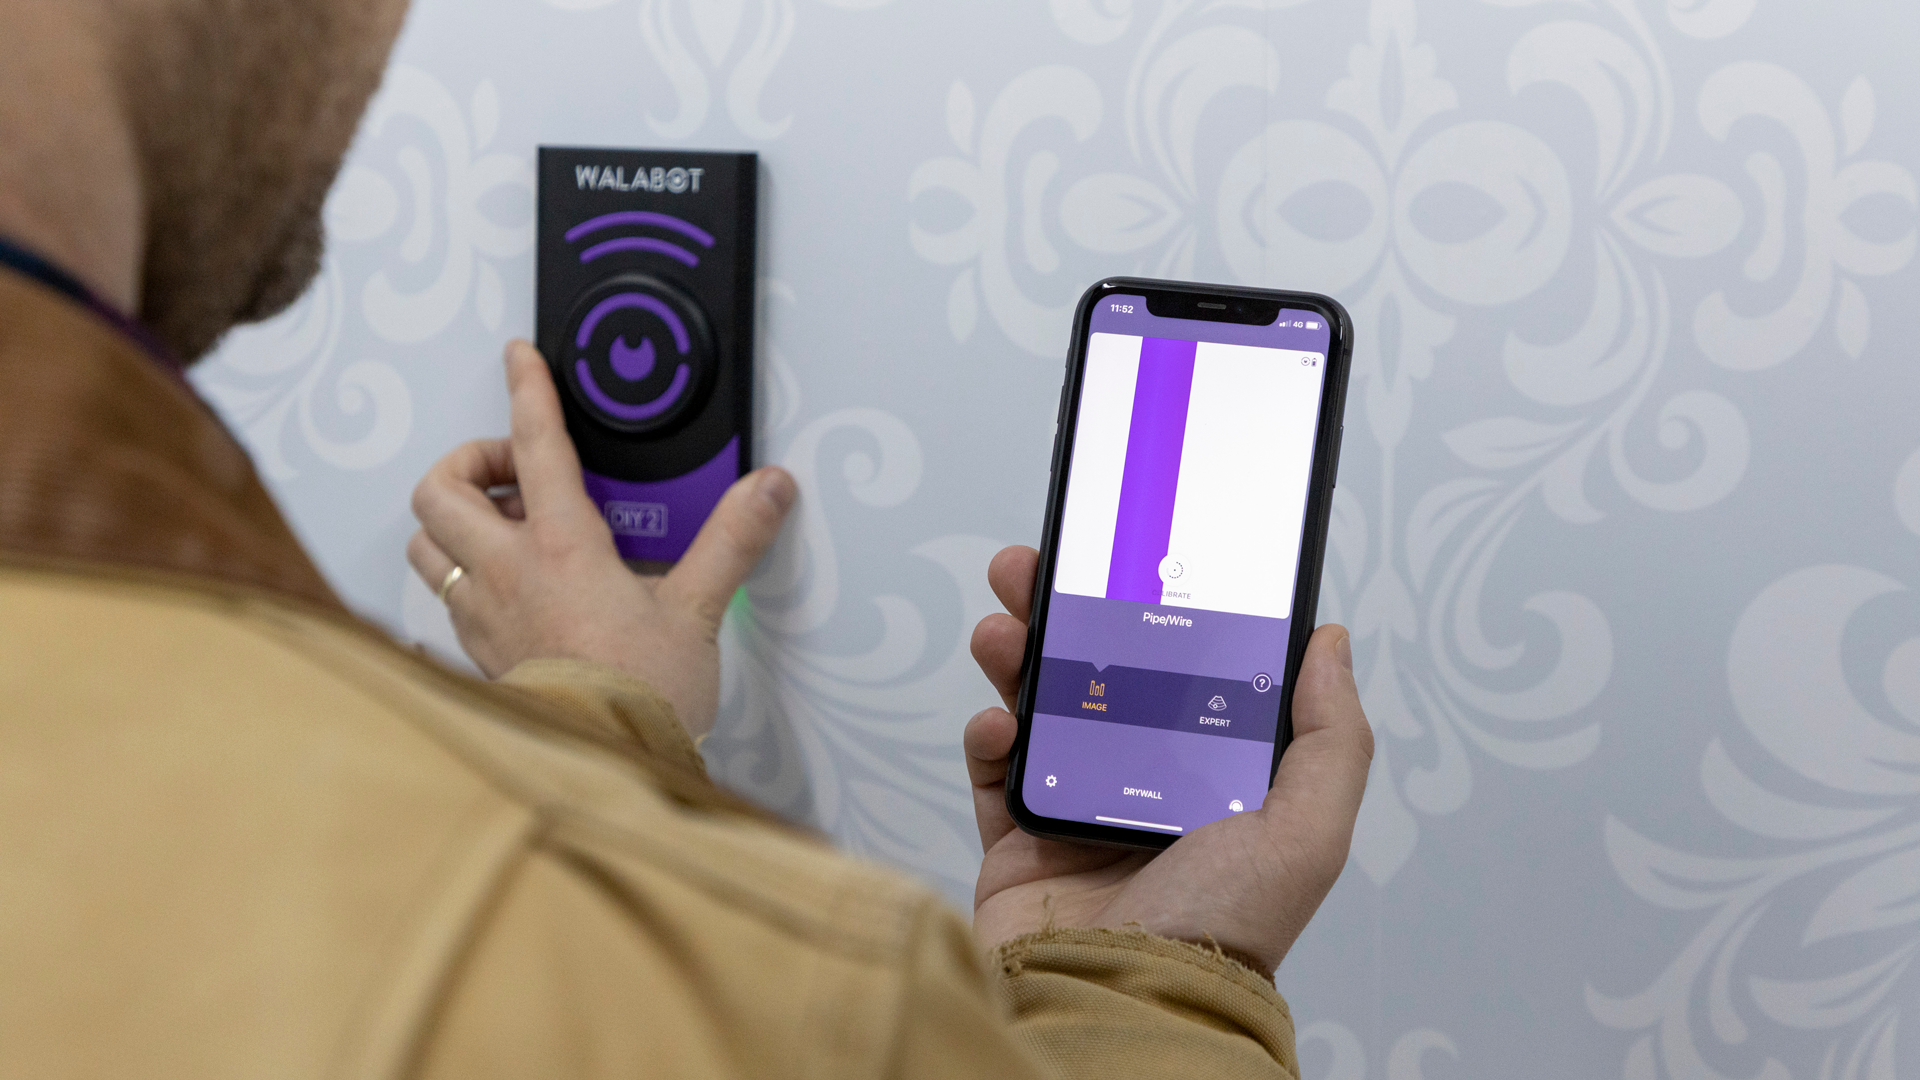
The device is called the Walabot DIY and it’s a product that connects to your Android phone. You download the free app and then place the Walabot device flush against the drywall. After a quick calibration so the Walabot can get its bearings, your phone screen begins to tell you the secrets that lay behind the drywall.
Being the skeptical sort, I built a small section of wall in my basement. It included a copper pipe, a stretch of 14-3 romex wire, and two pieces of half inch drywall separated by three 2×4 studs.
The Walabot found everything! It showed me a stud when I glided it across the drywall. The copper pipe showed up and it told me that there was a pipe behind my wall. The romex wire was equally as obvious.
So far, this device had lived up to the hype. I was excited, but as of my partial findings, it was still only a glorified stud finder (except it found wires and pipes too!) I had to go deeper into my intended use.
Advanced Experiments
I purchased a mouse from a local pet store and dropped it down one of the wall voids. I learned that the Walabot does not have a “mouse” graphic like it does for a stud or a pipe/wire. In order for it to detect a mouse, or other animals in walls, you have to change the mode to expert. When I glided the Walabot over the drywalled void where the mouse was now sitting, the screen turned an angry red. It was almost as if the Walabot was saying “RIGHT HERE! There’s a damn mouse in your wall!” To say that I was excited would be an understatement.
Finding Dead Animals vs. Live Ones
We deal with a lot of live animals in wall voids, but many times we’re tasked with finding a dead animal. The odor is permeating the living quarters and the homeowner has a general idea of where it appeared first, but that’s about all we have to go on as far as clues go.
I placed a dead mouse in my makeshift wall and fired up the Walabot DIY. Sure enough, the angry red screen betrayed the hidden mouse carcass. Still being Mr. Skeptical, I reasoned that the body heat was not much different than the live mouse test and waited a few hours to try again. It didn’t matter. The Walabot DIY found it every time.
I waited a full day to try again. I had one of my employees move the dead mouse from one void to another so that I had no idea where it was. It took all of about thirty seconds for me to find it. I knew then that this Walabot DIY was no gimmick.
I left the dead mouse in the wall void and played “find the dead mouse” with my employees for over two weeks.
We were always able to find it with ease, no matter what section of wall void it was in. After eighteen days, the basement experiment was called to a halt by the ultimate authority on all things in the Ammerman household, my wife. The dead mouse’s odor was strong enough that she told me “You have experimented enough. There’s nobody out there that would put up with that smell for almost three weeks. I want that thing out of our house.” I couldn’t blame her. It did smell bad, but you know how that goes – you get used to a bad odor after breathing it for a while.
I thought about using this as a defense to continue the experiment, reasoning that she’ll get used to it, but then common sense hit me over the head and I decided that risking a happy marriage wasn’t worth a few more days of trials and experimentation.
How Does the Walabot DIY Work?
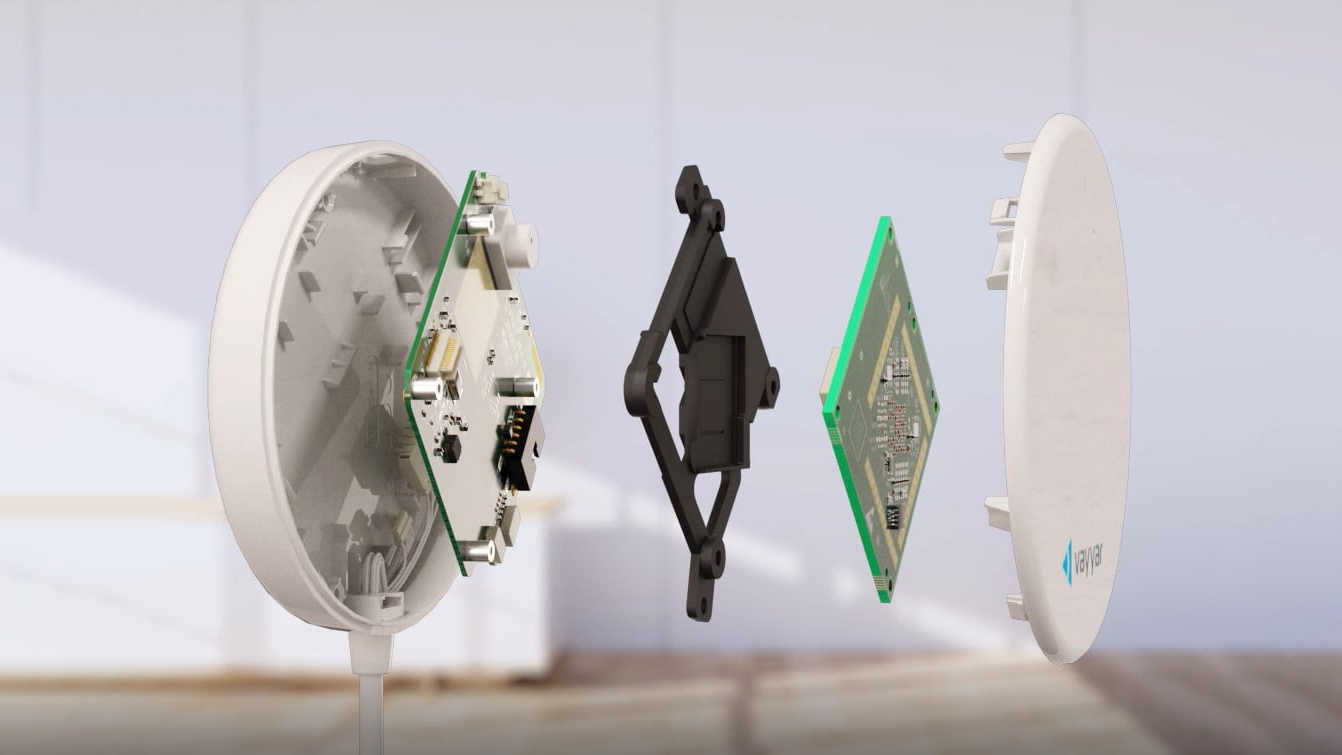
I contacted the company that produces the Walabot DIY and learned that they are an Israeli company with a handful of successful products using the same technology. The Walabot DIY uses radio waves to penetrate the drywall. This process is much like the speed radar guns that the police use as well as the radar used to protect our airspace. Silent radio waves get emitted into the wall. When something deflects those radio waves back, the Walabot DIY determines what it is “seeing” and displays it on the screen. It doesn’t care about heat. It cares about mass.
Walabot DIY At NWCOA Expo
I was so excited about this new innovation for wildlife control that I volunteered to speak about it at the NWCOA Expo as well as the 25th annual WCT Training Seminar. I built a demo wall and showed each group of people how to calibrate the device and immediately start discovering the pipes, wires, and wall studs. Each time I asked for a volunteer to come up and give it a shot. They easily found the studs, pipes and wires. At this point I asked them to turn and face the audience so they could not see what I was doing. I held up a dead mouse by the tail, dropped it into a void, and then told the volunteer what I had just done. It was their job to use the Walabot DIY to find the dead animal.
Both volunteers found the dead animal in less than a minute. With less than two minutes of experience using the Walabot DIY, I would say that this is pretty convincing evidence that every one of our trucks needs a Walabot DIY on it.
During both demonstrations, as I spoke, I watched as people in the front row were on their cell phones ordering Walabot units from the company’s website. Had I been sitting there and just witnessed what they had, I would have done the same thing!
The conferences are held early in the year (January/February) and as you know, that’s the traditional slow time for wildlife control. I was curious as to what a baby raccoon would look like on the Walabot DIY screen. What about a bird? Sometimes we get young squirrels that have fallen down into a wall void. Would it pinpoint that as well? It made sense to me that it would. If it found a mouse, it should find the other animals, but I would have to wait.
My suspicions proved to be true, as each one of these animals finally presented themselves to us to try out the Walabot. Our clients were amazed at the technology, proving in their minds that they did the right thing by calling in a professional. Their walls didn’t have to get pounded on to try to pinpoint the intruder. There were no test holes drilled or cut into their drywall. The animals, dead and alive, were extracted with a minimum of fuss and with a minimum of time. The time saving factor is huge. As you know, we can make more money, but we can never make more time. By having this tool available, we save time and can get on down the road to another job, thereby making us more money!
Walabot Phone Compatibility and Use
Everything has a downside. I’ve told you about the good things. Let me tell you what I’ve found that I deemed as “negatives.” The Walabot DIY currently only connects to Android phones. If you are an Apple kind of guy or gal, you need to buy a cheap, used Android phone to use the Walabot DIY. There’s no need to activate it for cellular usage. As long as you can connect to WIFI just once and download the manufacturer’s app, then it is good to go. Another drawback that I found was the length of the cord used to attach the unit to your phone. The Walabot is meant to be connected via a sticky pad to the back of your phone. If you’re using your Android phone as a phone, this is a bit unpractical, as the Walabot DIY is just a tool that gets used once in a while. I prefer to get a longer extension and hold the WalabotWallabot in one hand and view the phone screen in the other hand. Usually these animals are within inches of the floor and this makes our job much easier. These are really the only bad things that I can say about the product and each “negative” is easily overcome by our own innovation.
I Think That You’ll Like The Walabot DIY
Each of my trucks has a Walabot DIY in them. It’s not a tool that gets used every day or even every week, but when it’s needed, it proves its value.
At each of the demonstrations that I gave I made the bold statement that if you buy one of these devices and are not satisfied that it does what I say it will do, that I would buy it from you. I don’t need any more Walabots, but, as I knew, anyone that bought one found that they were keeping it!
Since my demonstrations, The Walabot company has developed a new product called the Walabot Plus. This unit can be used on lath and plaster walls too. It retails for fifteen dollars more. I don’t have any experience with these units, but if I were buying today, I would probably spend the extra fifteen dollars to have the extra versatility (even though most all of my animal in the wall calls involve drywall.)
Thanks to the Walabot DIY, the days of “pound and listen” are over. The days of drilling a hole and sniffing are over. The days of hoping that we have the right wall void (as our drywall saw starts cutting,) are over. The Walabot DIY is just a tool, but one that we won’t be without.
This article originally appeared in “From the Toolbox” article in WCT.
The Post URL was successfully copied to your clipboard
Read more on #vayyar

Vayyar Appoints Tomo Taguchi to Lead Tokyo Office and Drive Growth
Read more
The Israeli Company with a Chip that “Sees” through Walls is Worth $1B
Read more
Vayyar Wins $108M Series E Funding Led by Koch Disruptive Technologies
Read more


